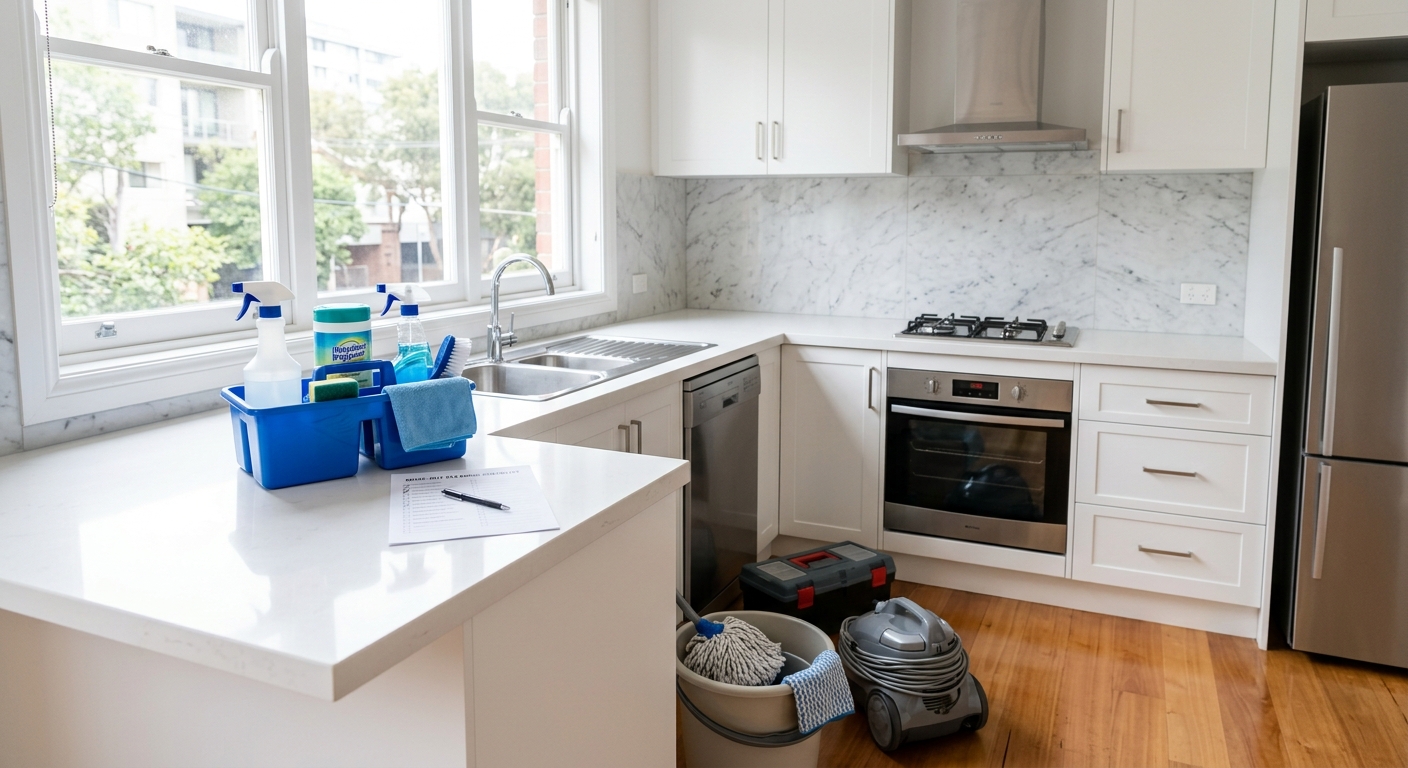
Staring at your lease-end date and feeling that familiar pit in your stomach about cleaning? You're not alone. After helping hundreds of tenants prepare for their final walk-throughs, we've seen firsthand how a thorough move-out clean can mean the difference between getting your full security deposit back and losing hundreds of dollars to professional cleaning fees.
The stakes are real: according to HomeGuide, professional move-out cleaning costs between $120–$420 for a standard apartment, with a national average of $360 in 2026. That's money coming straight out of your deposit if you don't handle it yourself.
In this guide, we'll walk you through exactly how to clean apartment before moving out like a professional. You'll learn the room-by-room process our team uses, discover which products actually work (and which are a waste of money), and understand what landlords really scrutinize during final inspections.
Understanding What's At Stake: Security Deposits and Legal Requirements
Before we dive into cleaning techniques, let's talk about what you're actually protecting. The most common security deposit deductions are cleaning fees, repair charges, and junk removal for items left behind. For an average apartment, move-out cleaning fees typically range from $90 to $500.
Here's what many tenants don't realize: landlords cannot legally deduct for normal wear and tear, pre-existing damage, or general property upgrades. Attempting to charge for these items is the number one reason landlords lose security deposit disputes in small claims court.
New Legal Protections in 2025-2026
If you're in California, recent legal changes work in your favor. Assembly Bill 2801, effective April 1, 2025, now requires landlords to provide photographic evidence if withholding part of your security deposit. They must take photographs of the unit within a reasonable time after you return possession, but prior to any repairs or cleaning.
Even better: landlords are now prohibited from including automatic, fixed cleaning costs in rental agreements. That means automatic carpet cleaning upon vacancy is no longer an allowed security deposit deduction in California.
Pro Tip: Before turning in your keys, take clear photos of every room, including close-ups of appliances, floors, walls, and any previously existing damage. This documentation can serve as evidence if you later need to dispute a cleaning fee. In our experience helping clients document their move-outs, time-stamped photos have saved thousands of dollars in disputed charges.
How Long Does Move-Out Cleaning Really Take?
Let's set realistic expectations. For a studio or one-bedroom apartment, expect 4–6 hours for a thorough cleaning. Two-bedroom apartments typically take 6–8 hours. This assumes the apartment is already empty—trying to clean around boxes and furniture will easily double your time.
We always recommend scheduling your cleaning for after you've completely moved out. It's exponentially easier and more efficient when you can access every corner, baseboard, and cabinet without navigating obstacles.
If you're short on time or energy, our professional move-out cleaning service handles everything on this list, typically completing a one-bedroom apartment in 3-4 hours with a two-person team.
Essential Supplies: What You Actually Need
Don't waste money on products you'll use once. Here's the streamlined supply list we use for every move-out clean:
- HEPA vacuum cleaner – crucial for carpets and getting dust out of vents
- Microfiber cloths (at least 10-12) – these are the gold standard for move-out cleaning. Unlike paper towels, they don't leave lint behind and are far more effective at trapping dust
- All-purpose cleaner – We prefer Method All-Purpose or Mrs. Meyer's for most surfaces
- Degreaser – Krud Kutter is our go-to for kitchen grease
- Bar Keepers Friend – We prefer this over generic abrasive cleaners because it works on stainless steel, porcelain, and ceramic without scratching
- Foaming oven cleaner – Get one you can leave on overnight to save hours of scrubbing
- Glass cleaner – For windows, mirrors, and glass shower doors
- Microfiber mop – More effective than traditional mops for hard floors
- Scrubbing brushes – Various sizes for grout, corners, and tight spaces
- Rubber gloves – Protect your hands from harsh chemicals
- Trash bags – You'll need more than you think
According to the CDC's cleaning hierarchy, most move-out cleaning only requires cleaning (soap and water to physically remove germs), not sanitizing or disinfecting. Regular cleaning with soap and water is sufficient for most surfaces unless there are sick people in your home.
If you do choose to disinfect, look for EPA-registered products. When EPA-approved disinfectants aren't available, you can use 1/3 cup of bleach added to 1 gallon of water, or 70% alcohol solutions. Never mix bleach with other cleaning products—this creates dangerous fumes.
Room-by-Room Deep Cleaning Strategy
Here's the critical insight from cleaning hundreds of apartments: the kitchen is the most scrutinized room during move-out inspections. Start there when you're fresh and have the most energy.
Kitchen: The Make-or-Break Room
The kitchen takes the longest and matters the most. Budget at least 2-3 hours for a thorough job.
Refrigerator:
- Remove all shelves and drawers—clean them in the sink with warm soapy water
- Wipe down interior walls, paying special attention to the rubber door seals where grime accumulates
- Vacuum the coils underneath or behind the fridge (this is a common oversight that landlords notice)
- Don't forget the top of the fridge—dust accumulates there and it's at eye level during inspections
Oven and Stovetop:
- Apply foaming oven cleaner the night before if possible—this dissolves baked-on grease without endless scrubbing
- Remove oven racks and soak in hot soapy water mixed with dish detergent
- For stovetops, remove burner grates and drip pans. Soak them in hot water with degreaser
- Clean underneath the burner elements—lift them gently to access the surface below
- Wipe down the oven door, including between the glass panels if accessible
Cabinets and Drawers:
- Remove everything first—you can't clean around items
- Vacuum out crumbs and debris
- Wipe down all interior surfaces with all-purpose cleaner
- Clean cabinet fronts, paying extra attention to handles where grease and grime accumulate
- Don't skip the tops of upper cabinets—another dust magnet that's visible during walk-throughs
Sink and Countertops:
- For stainless steel sinks, use Bar Keepers Friend to remove water stains and restore shine
- Clean the faucet, including the base where mineral deposits build up
- Wipe down all countertops, moving small appliances you might have left
- Re-caulk around the sink if the existing caulk is moldy or damaged (this small fix prevents major deductions)
Pro Tip: One of the trickiest situations we encounter is grease buildup on the wall and backsplash behind the stove. Regular all-purpose cleaners won't cut it. Mix hot water with a high-quality degreaser, let it sit for 5-10 minutes, then wipe clean. For stubborn spots, use a Magic Eraser—but test it first on an inconspicuous area as it can remove paint on certain finishes.
Bathrooms: Mold, Mildew, and Mineral Deposits
Bathrooms are prone to mold and mineral deposits that can trigger deposit deductions. Here's what actually works:
Important: Check what surfaces your sink, countertops, and tub/shower are made of before you start. You may not be able to scrub them or use harsh chemicals like bleach on certain materials. Finding this out first helps you avoid damaging the bathroom while cleaning.
Shower and Tub:
- For soap scum on glass doors, use a mixture of white vinegar and dish soap (1:1 ratio). Spray, let sit 30 minutes, then wipe clean
- Clean grout lines with a dedicated grout brush and oxygenated bleach cleaner
- Remove and clean the showerhead—soak it in vinegar to dissolve mineral deposits
- Re-caulk around the tub if the existing caulk is discolored or peeling
- Don't forget the exhaust fan cover—remove it and wash in soapy water
Toilet:
- Use a toilet bowl cleaner with hydrochloric acid for tough stains and rings
- Clean under the rim where deposits hide
- Wipe down the exterior, including behind the toilet and around the base
- Clean the toilet seat hinges—grime accumulates there and it's obvious during inspections
Sink and Vanity:
- Use Bar Keepers Friend on porcelain sinks to remove stains
- Clean the faucet and handles thoroughly
- Empty and wipe down all drawers and cabinets under the sink
- Clean the mirror with glass cleaner and a microfiber cloth for a streak-free finish
Living Areas and Bedrooms
These rooms are typically easier but require attention to detail:
- Walls: Spot-clean scuff marks and smudges with a Magic Eraser. Test in an inconspicuous area first
- Baseboards: Vacuum first to remove dust, then wipe with a damp microfiber cloth
- Windows: Clean both sides of the glass, the sills, and the tracks where dirt accumulates
- Closets: Vacuum thoroughly, wipe down shelves and rods, and clean the closet doors
- Light fixtures: Remove covers and wash them; wipe down the fixture base
- Ceiling fans: Wipe down all blades (top and bottom) and the motor housing
- Air vents: Remove covers and wash them; vacuum inside the duct opening
Floors: Save These for Last
Always clean floors last, after everything else is done:
Carpets:
- Vacuum thoroughly in multiple directions to lift the pile
- Treat any stains with a carpet cleaner—we recommend Folex for most stains
- Consider renting a carpet cleaner for high-traffic areas ($30-40 for 24 hours)
- Professional carpet cleaning costs an extra $120 to $240, so DIY can save significant money
Hard Floors:
- Sweep or vacuum first to remove debris
- Mop with appropriate cleaner for your floor type (hardwood, tile, vinyl, laminate)
- Pay special attention to corners and edges where dirt accumulates
- Dry mop afterward to prevent streaking and water damage
What Most Homeowners Get Wrong About Move-Out Cleaning
After handling hundreds of move-out situations, we've identified the most common and costly mistakes: