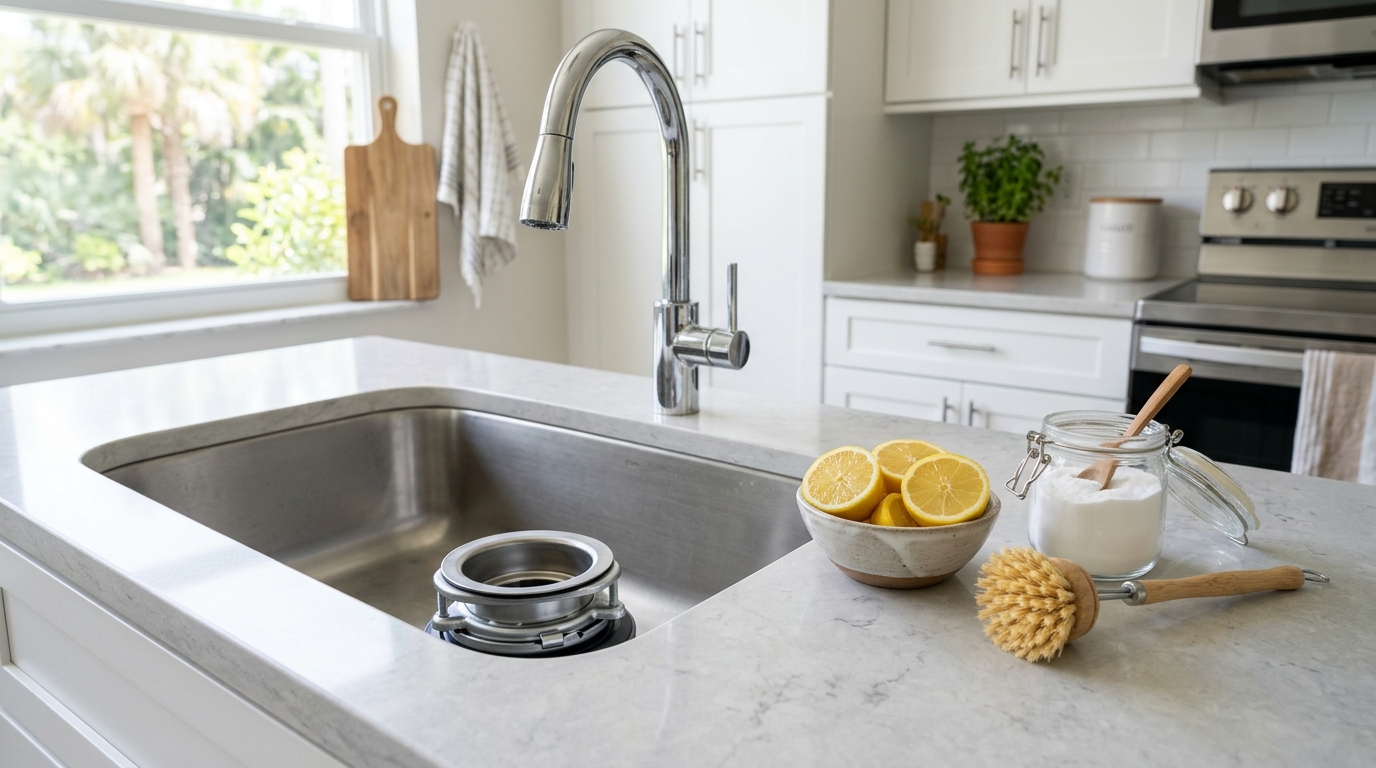
You turn on the kitchen tap, the disposal hums, and a sour smell drifts up from the drain. Or the unit grinds slower than it used to, and the sink holds water a little too long. Both usually mean the same thing: food film has built up where you can't see it.
Here is how to clean a garbage disposal safely, with things you already have in the kitchen. We'll also cover what should never go down it, because what you put in decides how fast the smell comes back. In Florida's heat and humidity, that gunk turns funky faster than it would up north.
We clean over 200 homes a month, and the kitchen sink drain is one of the spots people forget until it announces itself. What follows is what we actually do and what we tell customers to do between visits.
Why a Garbage Disposal Gets Smelly in the First Place
A disposal doesn't wash itself. Grinding food into small pieces and flushing them down is the job, but a film of grease, starch and food residue stays on the walls of the chamber and the underside of the rubber splash guard. Bacteria feed on that film, and warm kitchens speed the process along.
According to NSF International's household germ study, the kitchen sink and kitchen sponges rank among the germiest places in a home. The disposal sits right at the heart of that sink. If you want more on that theme, our post on the germiest spots in your home that people miss goes through the rest of the list.
In our experience, about 90 percent of disposal smells come from the underside of the splash guard, not from deep in the unit. That is good news, because it's the easiest part to clean.
Before You Start: Safety First
This takes five minutes of prep, and it is not optional. Manufacturers such as InSinkErator say the same thing in their support guides: never put your hand into a disposal, even when you think it is off.
- Turn off the power. Flip the wall switch off, and for extra safety unplug the unit under the sink or switch off its breaker. Some units are hardwired, so the breaker is the safer option.
- Use tools, not fingers. Keep a pair of long tongs or needle-nose pliers handy for pulling out anything you can see.
- Wear gloves. Rubber gloves protect you from grime and from the sharp edges around the drain opening.
- Grab a flashlight. You can't clean what you can't see, and a phone light works fine.
How to Clean a Garbage Disposal Step by Step
Set aside about 15 to 20 minutes. You'll need dish soap, an old toothbrush or small bottle brush, baking soda, white vinegar, a tray of ice cubes, coarse salt (kosher or rock salt), and a lemon or lime.
Step 1: Clear out anything visible
With the power off, shine your light down the drain. Pull out bottle caps, bits of peel, utensils, twist ties or any food you can see using the tongs. Items like these cause more jams than any food does.
Step 2: Scrub the splash guard and drain opening
Pull back the rubber splash guard (the flaps that sit in the drain opening). Spray or squirt dish soap on both sides and scrub the underside with your brush. You'll probably see a slimy, dark film. That is the source of most odors.
Then scrub the rim of the drain flange, the metal ring at the top of the sink. Rinse with warm water from the tap, using a cup to pour it down if you need to control the flow.
Step 3: Run ice and coarse salt
Restore the power. Fill the chamber about halfway with ice cubes, then add a big handful of coarse salt. Turn on the cold water and run the disposal until the grinding sounds smooth and the ice is gone.
The ice and salt act as an abrasive scrub against the walls of the chamber and knock off residue. One note: you may have heard that ice sharpens the blades. Manufacturers' parts are not blades in the usual sense, and that claim is contested, so think of ice as scrubbing, not sharpening.
Step 4: Fizz it with baking soda and vinegar
Turn the power off again. Pour about half a cup of baking soda down the drain, followed by a cup of white vinegar. Let it fizz for 10 to 15 minutes. The bubbling loosens film in places the ice can't reach, such as the drain line just below the unit.
Use vinegar only. Do not add bleach or any other cleaner to this mix. Our guide to cleaning products you should never mix explains why, and the CDC warns that mixing bleach with acids or ammonia releases toxic gases.
Step 5: Freshen with citrus
Cut a lemon or lime into a few small wedges, or use a couple of orange peels. Turn the power on, run cold water, and feed the pieces in one at a time. It leaves a fresh scent, and the peels' oils help cut light grease. Citrus doesn't disinfect on its own, so treat it as the finish, not the cleaning.
Step 6: Flush with cold water and dish soap
Finish by running cold water for 30 seconds to a minute with a squirt of dish soap going down the drain. This rinses everything through the trap and out of the line.
Why Cold Water Beats Hot Water
It feels natural to reach for hot water when cleaning, but InSinkErator's guidance is to use cold water while the disposal is running. Cold water keeps any fats solid, so the unit can chop them up and carry them along. Hot water melts grease into a liquid that can coat the pipes further down and harden again once it cools.
This matters for the whole house. Fats, oils and grease are a leading cause of sewer blockages, and the EPA and utilities around the country run programs asking residents to keep them out of drains. The Clemson Cooperative Extension has a plain-language explainer on FOG pollution if you want the background.
What Should Never Go Down a Garbage Disposal
A disposal is designed for soft food scraps in small amounts, not as a trash can. Here is the list we give customers, based on manufacturer manuals, plumber advice and utility guidance.
| Item | Why it causes trouble | What to do instead |
|---|---|---|
| Grease, cooking oil, fat | Coats the pipes, cools and hardens, and feeds sewer clogs | Let it cool, pour into a can or jar, and put it in the trash |
| Coffee grounds | Pack into a dense sludge that sticks to grease in the pipes | Trash or compost |
| Pasta, rice, bread | Swell with water and turn into paste | Trash or compost |
| Potato peels | Starchy, they form a gluey mash | Trash or compost |
| Fibrous vegetables (celery, corn husks, artichoke leaves) | Stringy fibers wrap around the grinding parts | Chop finely and use sparingly, or compost |
| Bones and fruit pits | Too hard to grind, and can dull or jam the unit | Trash |
| Non-food items (caps, labels, twist ties, glass) | Can jam or damage the unit | Trash |
The contested items: eggshells, citrus and small bones
Here, manufacturers and plumbers disagree. Manufacturers often say that small amounts of eggshell, citrus peel and small bones are fine. Many plumbers and local utilities say to skip them, particularly eggshell, because the thin membrane and fine shell fragments can stick to grease in the pipes.
Our take is simple: citrus peels in small amounts for freshening are fine, but if your drains already run slowly, keep eggshells and bones out entirely. When in doubt, the trash is always the safer choice.
A note on septic systems
Not every South Florida home is on a municipal sewer. Parts of the Keys, Broward and Palm Beach counties use septic tanks, and a disposal adds extra solids to the tank. Some local ordinances restrict disposals in those areas. Check with your county or a licensed plumber before relying on one, and read your utility's FOG guidance if you are on city sewer.
How Often Should You Clean It?
A little regular care saves you the big job. Here is the rhythm we recommend for a kitchen that gets daily use.
- After every use: Run cold water for 15 to 30 seconds after the grinding stops so scraps clear the line.
- Weekly: Run a few ice cubes and a squirt of dish soap with cold water.
- Monthly: Do the full routine above, including scrubbing the splash guard.
- Anytime it smells: Start with the splash guard. It is almost always the culprit.
In South Florida, where kitchens stay warm and the air is humid, we lean toward the monthly scrub even if nothing smells yet. Odors build quietly and then appear all at once, usually when you have guests over. If you're tackling the whole room, our guide to deep cleaning your kitchen fits the disposal in alongside everything else.
Pro Tip: Freeze white vinegar in an ice cube tray and keep the cubes in a bag in the freezer. Once a week, drop a few down the disposal with a bit of dish soap and run it with cold water. You get the scrubbing action of ice and the deodorizing of vinegar in one step, with no measuring and no mess.
Common Mistakes When Cleaning a Disposal
- Reaching in with your hand. This is the biggest one. Even with the switch off, always use tools or leave the job alone.
- Using bleach or caustic drain cleaners. Many sources warn against both. They can corrode seals and parts, and mixing bleach with vinegar or ammonia releases dangerous gas. Stick to dish soap, baking soda and vinegar.
- Skipping the splash guard. Grinding ice while the guard stays slimy only masks the smell for a day.
- Running hot water with grease. It moves the problem down the line instead of solving it.
- Overloading it. Feeding in large amounts at once strains the motor. Add scraps gradually with the water running.
- Ignoring a jam. If it hums but won't turn, switch it off. Most InSinkErator units have a hex-key socket at the bottom center for freeing a jam, and a red reset button nearby. Check your model's manual for details.
When to Call a Plumber Instead
Cleaning fixes smells and light sluggishness. It does not fix mechanical problems. Call a licensed plumber if:
- The disposal leaks from the bottom or sides.
- It hums but won't turn, even after you try the reset and the hex key.
- The sink backs up repeatedly or the water drains slowly even with the disposal clear.
- A bad smell returns within a day or two of a thorough cleaning. That can point to a clog or trap problem further down the line.
Replacement costs vary quite a bit by model and region, and guides from Angi, HomeAdvisor and ConsumerAffairs show wide ranges, so get a local quote rather than trusting a national average.
If your area is under a sewer advisory or you've had a backup after a storm, follow your utility's instructions and don't use the disposal until it's cleared. Our hurricane season cleanup prep guide covers more on what to do when storms hit.
Related Spots That Smell the Same Way
If the disposal is clean and the kitchen still smells, check the sponge and the dishwasher. Sponges hold bacteria, and our guide to cleaning and disinfecting kitchen sponges shows how to deal with that. A clogged filter in the dishwasher can also cause a drain smell, which we cover in how to clean a dishwasher filter.
Keep the Kitchen Drain Fresh
Knowing how to clean a garbage disposal comes down to a few habits: power off, scrub the splash guard, run ice and salt, fizz with baking soda and vinegar, and flush with cold water. Pair that with a short never-down list, and you'll avoid most clogs and almost all of the smell.
If you'd rather leave it to the pros, our team can handle the kitchen sink, drain area and everything around it as part of a standard cleaning. Our service isn't cheap, because we pay our cleaners well, and our cleaners have 2+ years of experience cleaning homes. A real person answers our phone seven days a week if you have questions.
Frequently Asked Questions
Can I clean a garbage disposal with bleach?
We don't recommend it. Many sources warn against bleach in disposals, and the CDC warns that mixing bleach with vinegar, ammonia or acidic cleaners releases toxic gas. Dish soap, baking soda and white vinegar do the job safely when used one at a time.
Does ice really sharpen garbage disposal blades?
Not really. The grinding parts in most disposals are not sharp blades like a blender's, so the claim is contested. Ice does help scrub residue off the chamber walls, and that is the real benefit.
Why does my garbage disposal still smell after cleaning?
Most often the underside of the splash guard still has film on it, so scrub it again with dish soap and a brush. If the smell comes back within a day or two, the problem may be further down in the drain line or trap, and a plumber should take a look.
Is it safe to put citrus peels down the disposal?
In small amounts, yes. Manufacturers generally say citrus is fine for freshening. Citrus doesn't clean or disinfect on its own, so use it after scrubbing, not instead of it.
Should I run hot or cold water through a garbage disposal?
Cold. InSinkErator and other manufacturers recommend cold water while the unit runs, because it keeps fats solid so they get chopped up and flushed through instead of coating your pipes.